Getting Started
Fields of Mistria Farm Layout: Plan Crops & Buildings
Choose an original Fields of Mistria farm zoning strategy for crops, ranching, paths, processing, storage, and future expansion without relying on a tile-perfect map.
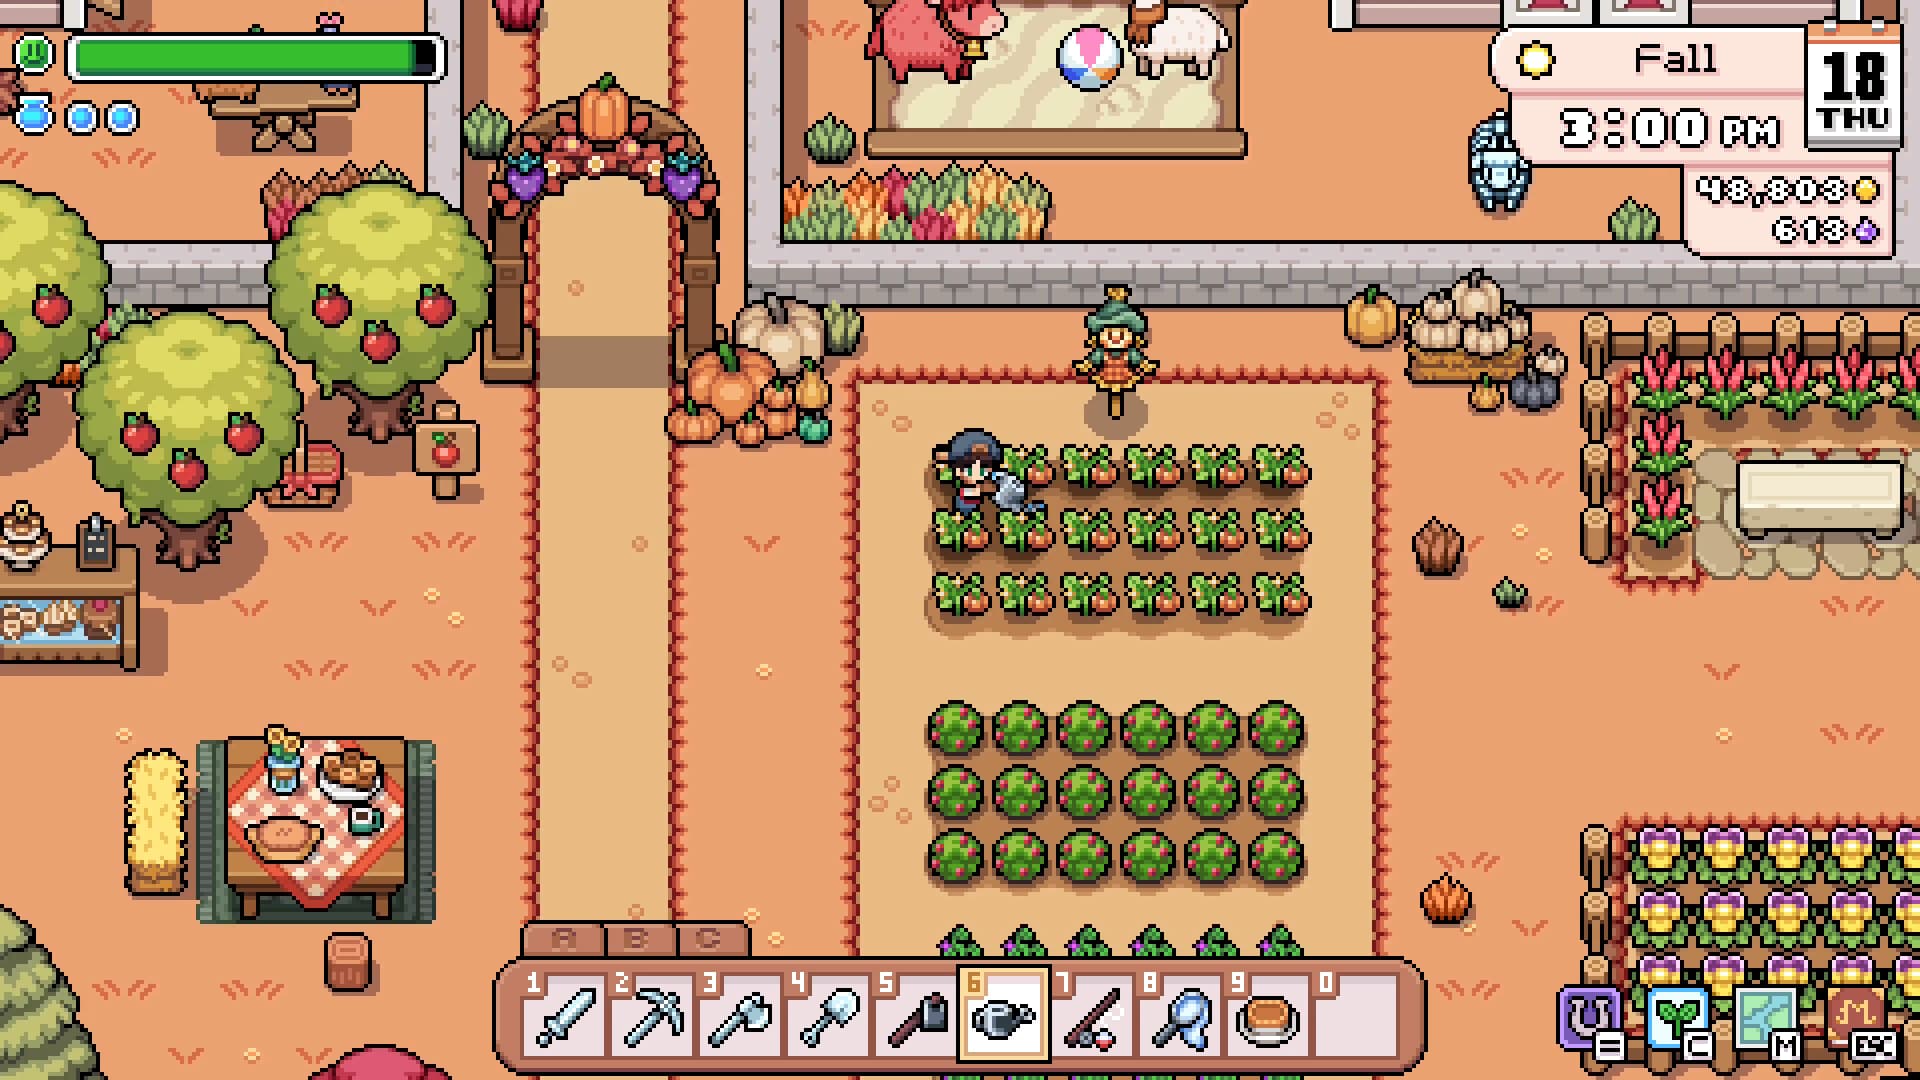
Quick facts
- Plan around
- Tilled soil, buildings, paths, water
- Long-term space
- Base farm + eastern expansion
- Layout goals
- Early Efficient, Ranch-Heavy, Balanced/Cozy
- Planner
- Use a third-party sketching tool
There is no single best farm layout. Start by dividing the farm into working zones, then choose whether the first priority is short walking routes, ranch capacity, or a comfortable mixed space. These three original strategies are designed to be redrawn around your own fixed terrain and available buildings rather than copied as a finished screenshot.
Start with flexible zones
The farm is an irregular, tile-based space with fixed terrain, water, paths, and natural borders. Treat those features as boundaries instead of planning as if the map were an empty rectangle. Keep large zones flexible until you know which areas are truly usable for tilling or building.
Every plan should reserve five working areas:
- Crop zone: continuous soil for the crops you tend most often.
- Ranch zone: a clear area for Barns, Coops, animal access, and future housing.
- Path zone: one main walking route connecting the house, crops, ranch, and work area.
- Processing and storage zone: chests and machines close to the route between production areas.
- Expansion zone: open space that can accept a future building, field, or decorative change.
Do not fill every awkward edge with furniture on the first pass. A flexible edge is more valuable than a decorative corner that blocks a later building move.
Early Efficient
This is the best starting direction when time and stamina matter more than decoration.
- Crops: Keep one compact crop block near the house and the main walking route. Group crops by the watering path you actually use instead of scattering single plots across the farm.
- Ranch: Reserve one future Barn or Coop pad away from the center of the crop block. Do not commit the entire edge to animals before you know your ranch scale.
- Paths: Use one short spine from the house to crops, then branch once toward the ranch and processing area. Avoid decorative loops that add walking before the farm is stable.
- Processing and storage: Put chests and machines beside the route where harvested crops and ranch products naturally pass. Keep inputs and outputs together so a harvest does not become an inventory tour.
- Why it works: The first season has fewer buildings and less spare time. Compact production keeps watering, shipping, and refilling tasks inside one repeatable morning route.
- Future expansion: Leave one side of the productive block open so the field can grow or a building can be added without moving the main path.
Ranch-Heavy
Choose this direction when animal products and daily animal care are the farm's main identity.
- Crops: Keep a smaller crop and forage strip for feed, cooking, and seasonal flexibility. Do not sacrifice every usable soil patch to buildings.
- Ranch: Group Barn and Coop pads on one side with room to walk between the housing area and the main path. Keep the group visually separate from the crop block so animal care does not cut across planted soil.
- Paths: Build a clear care route from the house to the ranch, then connect it to storage and processing. The route should still work after another animal building is added.
- Processing and storage: Place storage and animal-product machines at the ranch/crop boundary. That gives ranch products a short route to processing while keeping crop shipping accessible.
- Why it works: A grouped ranch reduces daily searching and leaves the center of the farm available for crops, paths, or a future work yard.
- Future expansion: Keep an uncommitted pad beside the ranch group rather than squeezing a new building into the crop route. Exact building footprints should be checked in your current save before final decoration.
Balanced / Cozy
Use this direction when the farm should feel lived-in while still supporting a reliable income loop.
- Crops: Make one central productive zone, but break it into readable seasonal sections instead of a single wall of soil. Keep the edges open enough to adjust the field later.
- Ranch: Put the ranch on a quieter outer edge and use fences, trees, or natural borders to give it a distinct identity without blocking the main route.
- Paths: Create one comfortable loop between house, crops, ranch, and processing. Keep a deliberately open walking area for future furniture and seasonal changes.
- Processing and storage: Place the work yard near the center of the loop, where crop and animal products meet. This keeps machines useful without turning the whole farm into a warehouse.
- Why it works: The layout separates productive work from decoration, so a cozy farm can stay functional even when the crop mix or ranch size changes.
- Future expansion: Protect the open area and the outer edge until the eastern expansion and your long-term building needs are clear. Add detail only after the large routes still work.
Buildings, moving, and footprints
Farm buildings are planning anchors, but they do not need to dictate the entire first layout. You can relocate Barns and Coops after relocating their animals; a pregnant animal cannot be moved. The farmhouse cannot be moved. A Greenhouse can be moved, but crops are destroyed when it is moved, so plan a safe emptying window before rearranging it.
The verified animal-building footprints and capacity checkpoints are:
- Barn: Small 14x10, capacity 4; Medium 16x12, capacity 8, Ranch Rank 20; Large 18x12, capacity 12, Ranch Rank 40.
- Coop: Small 12x10, capacity 4; Medium 14x12, capacity 8, Ranch Rank 20; Large 16x12, capacity 12, Ranch Rank 40.
Large Barns may have a statue. Leave practical space around a footprint rather than treating these dimensions as a complete placement map.
Farm expansion and shipping bins
Purchase Farm Expansion 1 at the Carpenter's Shop for 40,000 Tesserae, 50 Refined Stone, and 50 Hard Wood. It has no stated unlock condition; the right plot becomes available immediately after the expansion, along with a starter bridge and its recipe. This is the listed expansion tier, not a promise of additional tiers.
Shipping bins start to the left of the farmhouse. Barns and Coops get bins too, and bins can be crafted, purchased, or moved. Each bin holds 30 items, and the bins are not linked, so put one near the production route you actually use.
Plan expansion and processing
Plan the base farm and eastern expansion as one long-term project, but do not rely on an exact expansion grid here. The safe planning rule is to leave routes and open edges extendable: a crop block should be able to grow, a ranch should be able to accept another building, and the processing yard should not be trapped behind decorative borders.
For a rough sketch, Mistria Planner is a useful third-party tool. Use it to test zone relationships and save-based layouts, not as proof of every exact 1.0 footprint or final map boundary.
Before placing small furniture, check the five questions below:
- Can I reach crops, ranch, and machines in one normal route?
- Is there still a clear place for the next building I expect to add?
- Does storage sit between production and shipping rather than at the far edge?
- Are fixed water, paths, and natural borders doing useful work in the plan?
- Can I change the crop mix without rebuilding the entire farm?
For crop timing and year-round planning, see the Crops and Farming Guide, Greenhouse Guide, and Water Sprite and Sprinkler Guide.
Tip
Draw the large zones first and leave one flexible corridor for future buildings or expansion. Paths and furniture are easier to add after the working route is proven.
Note
The layouts here are original zoning strategies, not exact tile maps or copied community screenshots.
Keep exploring
Related guides
Fields of Mistria Beginner Guide: First Week Priorities
Follow this Fields of Mistria beginner guide to balance crops, fishing, requests, museum donations, tools, bag space, and early story unlocks.
Fields of Mistria Animal Breeding Guide: Color Tiers
Learn the Fields of Mistria animal breeding workflow, from compatible parents and housing space to inherited color tiers and seasonal variants.
Fields of Mistria Make Money Guide: Early to Late Game
Find practical Fields of Mistria make money methods for early crops, fishing, foraging, cooking, mining, and mature farm income through every progression stage.
Fields of Mistria Crops & Farming Guide
Plan Fields of Mistria crops by season, seed source, first harvest, regrowth, profit baseline, perks, magic, and greenhouse strategy.
Fields of Mistria Greenhouse: Costs, Unlock & Size
Unlock and use the Fields of Mistria Greenhouse, including its Small and Large options, year-round crops, trees, and automation radius.
Fields of Mistria Water Sprite & Sprinkler Guide
Learn the Fields of Mistria Water Sprite automation radius, Essence Stone requirement, Greenhouse interaction, and farm-planning implications.